Flying paper airplanes can be a fun and exciting experience for people of all ages. With just a simple piece of paper, you can create endless possibilities for flight patterns and designs. It is a great activity to do with friends or family, as you can have competitions to see whose plane can fly the farthest or stay in the air the longest.
Not only is it an enjoyable activity, but it also teaches important principles of physics, such as aerodynamics and gravity. This can be a fun and educational way to get kids interested in science.
There are also many different types of paper airplanes that you can make, from basic designs to intricate models. Some people even create their own unique designs, allowing for even more creativity and innovation.
Here are the steps for making a simple paper airplane:
- Take a standard rectangular piece of paper and fold it in half lengthwise.
- Unfold the paper and fold the top corners down to the center crease, forming a triangle at the top.
- Fold the top edges down again to the center crease, creating a smaller triangle at the top.
- Fold the paper in half along the original center crease.
- Fold the wings down at a 45-degree angle, aligning the top edges with the bottom edge of the plane.
- Fold the wings down again at the same angle to make the wings more stable.
- Optionally, fold the back of the wings upward to create flaps that help stabilize the plane during flight.
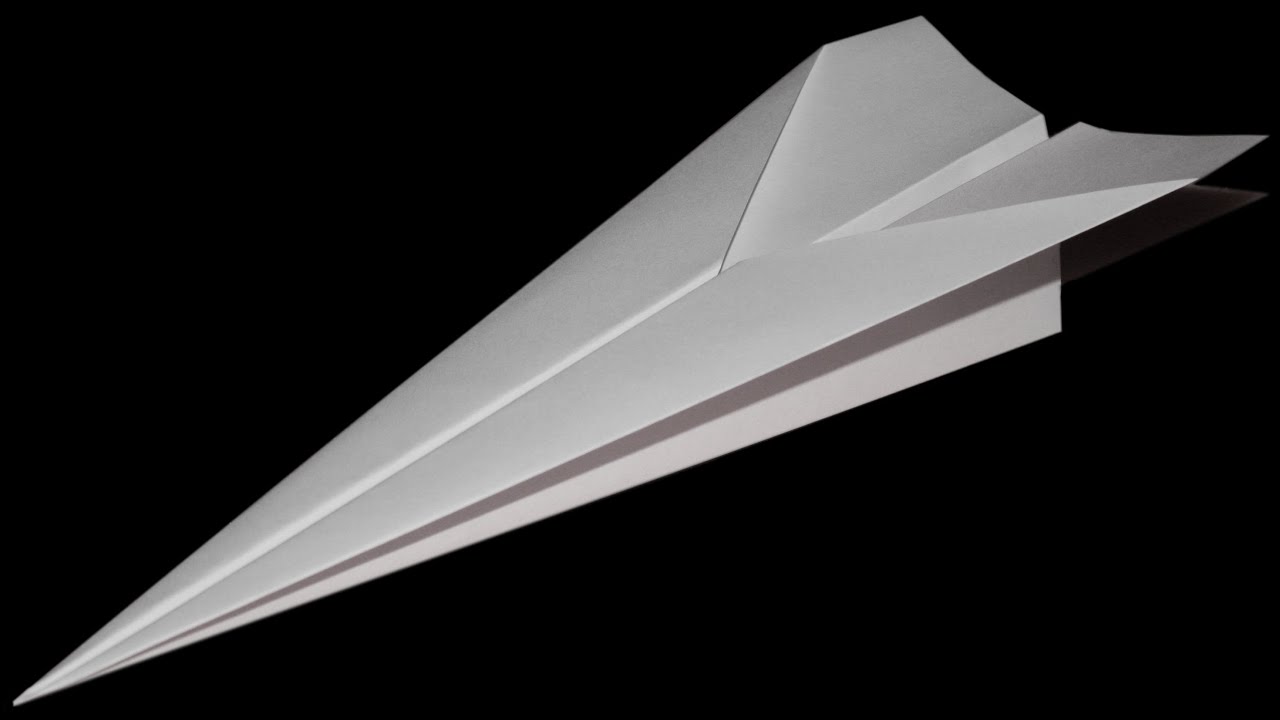
- Give your new paper airplane a quick test flight and adjust as needed.
With these simple steps, you can make a fun and functional paper airplane that flies through the air with ease. Happy folding!